
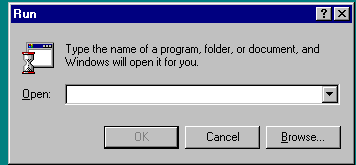
Click Start button from the task bar
Select Run
Figure 2 displays as below
Browse for the file from the directory it was downloaded or unarchived to
Note the directory is specified at the time of downloading. Eg "c:\temp"
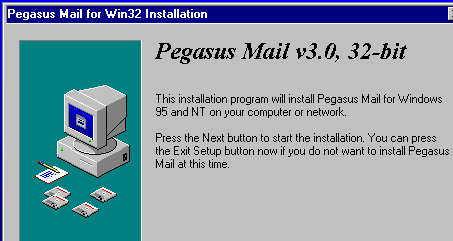
Upon selection Figure 3 displays

An installation notice displays as in figure 4
The Welcome message displays as in figure 5

Location for installation is prompted for as in Figure 6
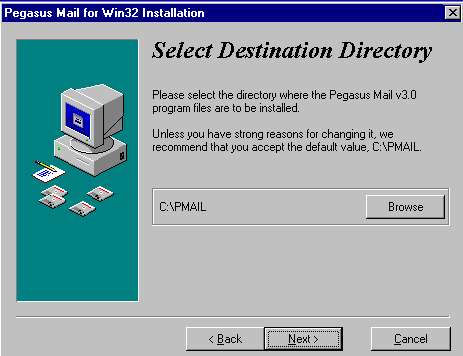
Else Browse to specify directory of choice
We recommend to use the default directory
Upon clicking Next, Figure 7 is displayed to choose components of Pegasus Mail to install.
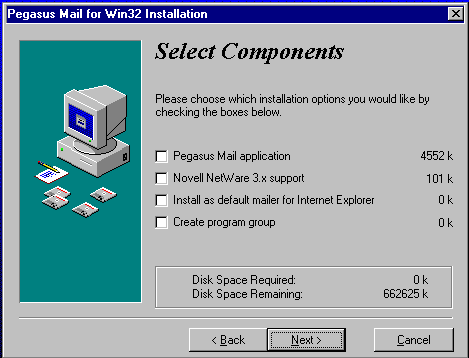
Check "Install as default mailer" assuming that is true
Check "Create Group"
Click Next
Figure 8 displays to select Program Group
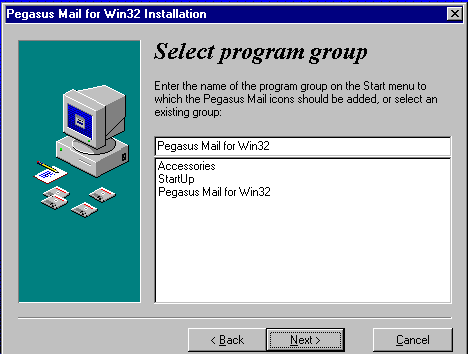
Figure 9 displays to indicate status of instalation
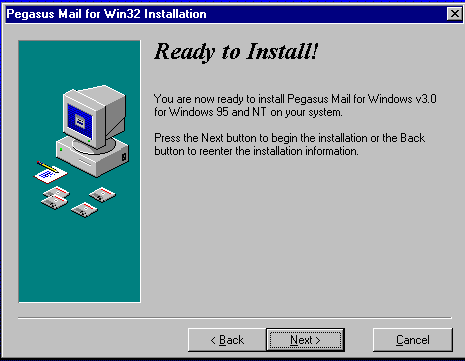
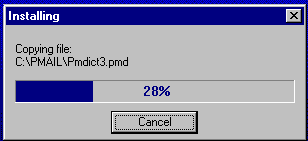
Figure 10 displays showing status of file extraction
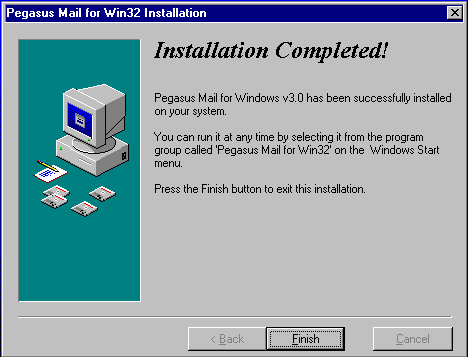
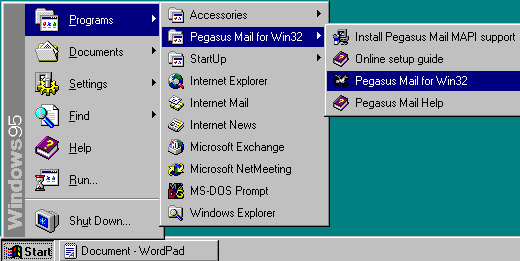
Select Programs
Select Pegasus Mail for Win32 group
Select Pegasus Mail for Win32 program
Figure 13 displays for setting mail boxes
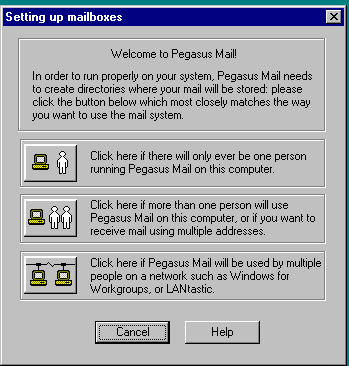
(This option lets more than one user to use the program for mail. Assuming only one user, the option offers the authentication to the system)
Upon selecting the mode, Figure14 displays to specify location of mail folder
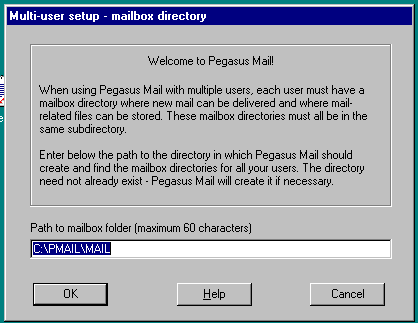
We recommend selecting the default
Click OK when satisfied
Figure 15 displays to add users
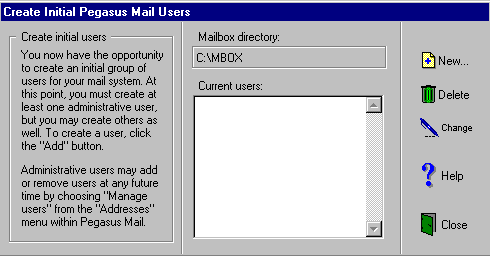
Figure 16 displays to add details of user
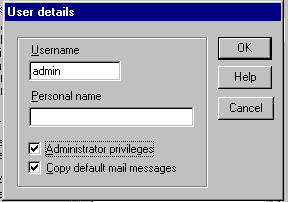
In Personal Name field enter your Name in full
Give the major user the Adminstrator priviledges. If only one user, still give that only user the adminstrator priviledges
If default messages are require check the option. These are messages on Pegasus mail program
Click OK figure 17 displays
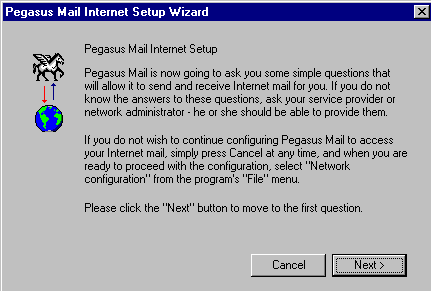
Figure 18 displays to enter e-mail address
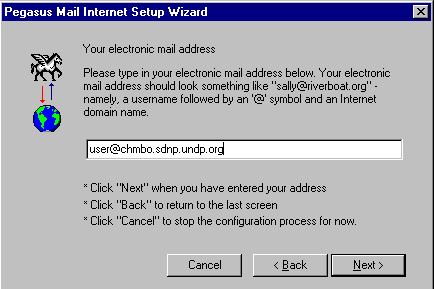
Click Next
Figure 19 displays to specify the POP3 server.
Note POP --> Post Office Protocol
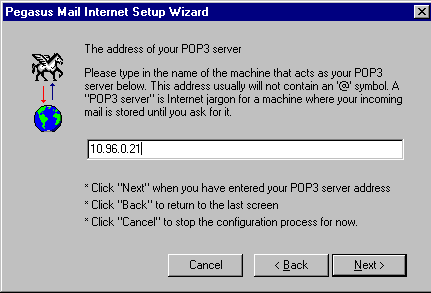
Or
Enter chambo.sdnp.org.mw if your DNS is enabled and configured properly
To configure DNS click this very link
Click Next
Figure 20 displays for entering authentication details
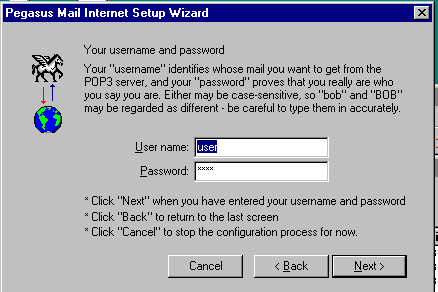
In password field enter the password presented on the form and aknowledged by SDNP
Note: These should be entered in lower case
Click Next
Figure 21 displays to enter SMTP server
Note: SMTP --> Simple Mail Transfer Protocol
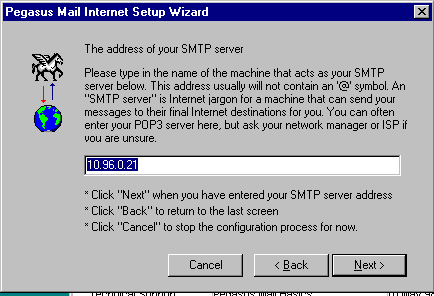
Or
Enter chambo.sdnp.org.mw if your DNS is enabled and configured properly
To configure DNS click this very link
Click Next
Figure 22 displays for entering mode of connectivity
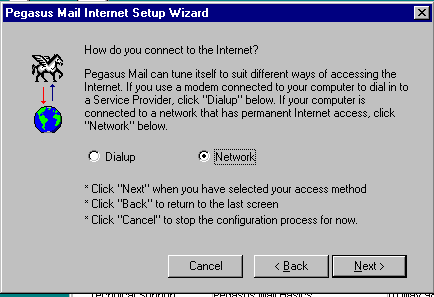
Click Next
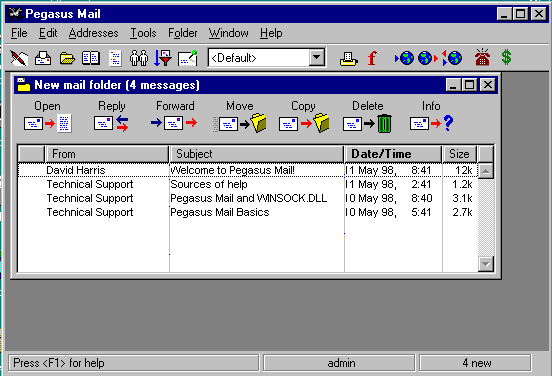
Figure 23 displays showing the Pegasus mail Window with the copy messages assuming was selected in step 16
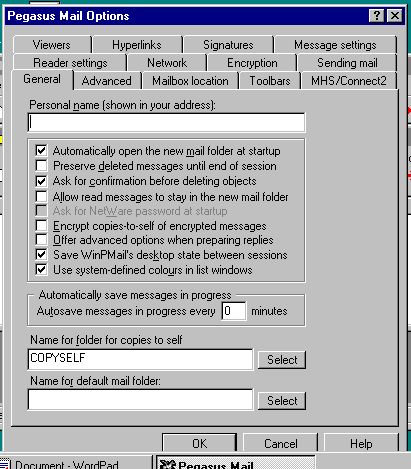
Select Tools and then Options from the menu
Figure 24 displays
Under Sending mail tab, specify your email address so that recipients can reply automaticaly without retyping your address.
Under Network tab, click advanced network configuration button and Figure 25 displays
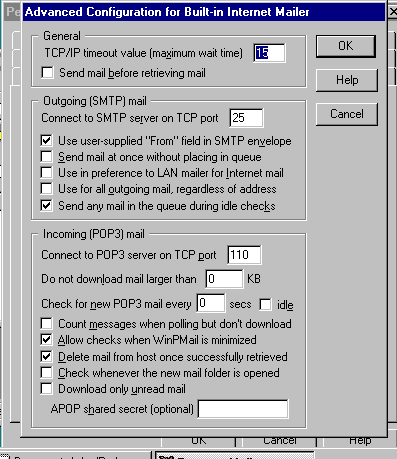
Click OK in this window and click OK again in the Options Window.
At this point you are set to use the Program.
Use the help within the program to learn how to use the respective aspects
Before sending and receiving mail, make sure the link to SDNP is active . This is achieved using the Malawi SDNP Dialer created earlier.